
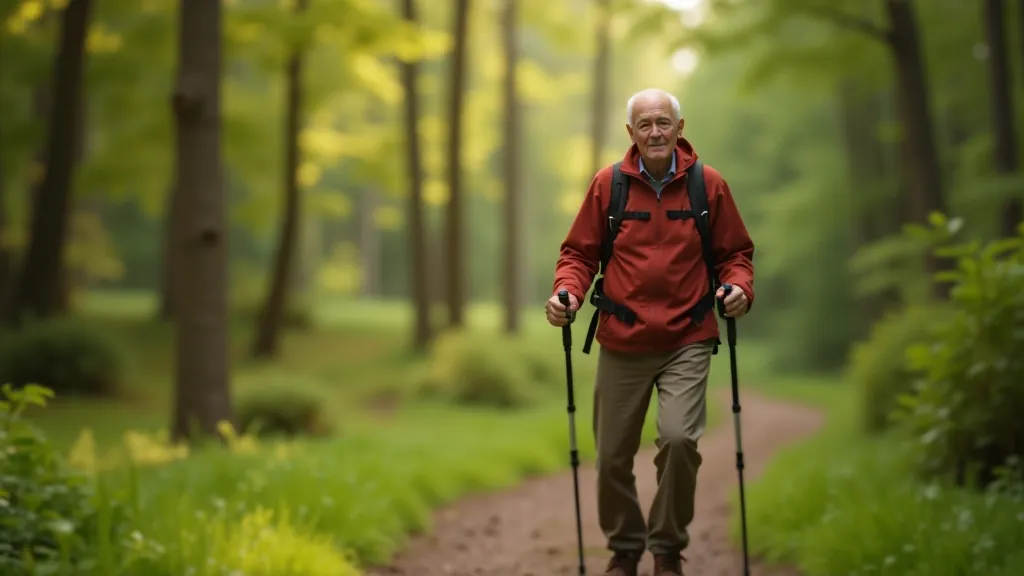
Why Walking Poles Matter
Walking poles aren't just for mountain climbing. They're actually brilliant for anyone who wants to enjoy longer hikes with less strain on the knees and hips. When you're walking uphill or on uneven ground, poles give you an extra two points of contact with the earth — that means less impact on your joints and better stability.
Most people find that poles make a real difference after about three outings. Your legs feel fresher, you can go further, and you're more confident on tricky sections of trail. Plus, they help with balance if the path gets rocky or muddy.
Getting the Right Size
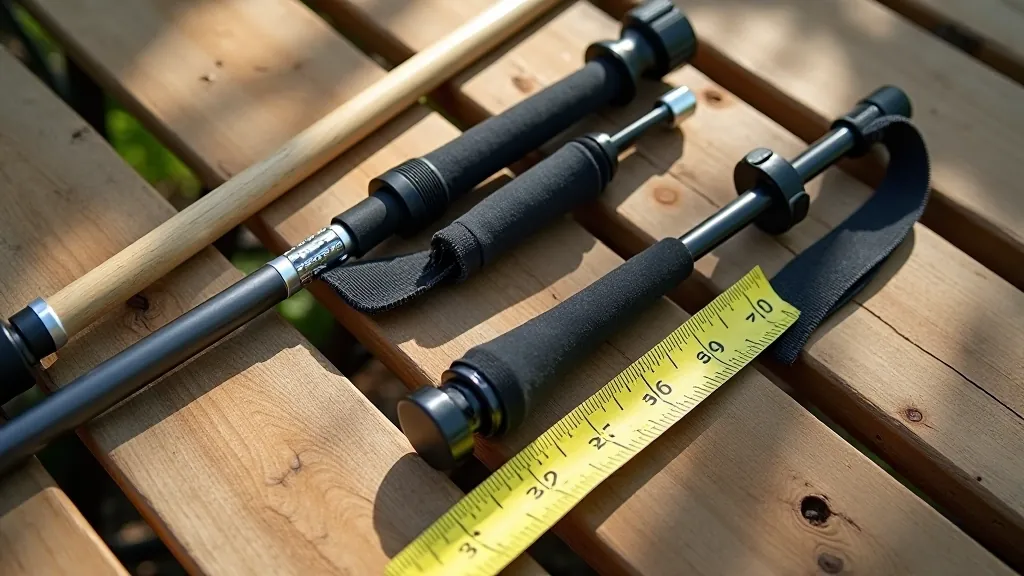
Poles come in two types: fixed length and adjustable. For most people starting out, adjustable poles make sense because you can dial in the perfect height and adjust them for different terrains.
Quick Sizing Rule
Stand up straight. Your arms should hang naturally at your sides. The pole should reach to roughly your wrist when you're holding it upright. That's your starting point. Some people prefer them slightly longer going downhill (better support) and slightly shorter on flat ground (less shoulder strain).
If you're 5'6" to 5'10", start with poles around 48-52 inches. Shorter? Try 44-48 inches. Taller folks usually do well with 52-56 inches. But honestly, the best test is to actually hold them. Walk around a shop or borrow from a friend first.
Learning the Basic Technique
It's not complicated, but there is a right way to use them. The biggest mistake people make is gripping too hard. Your hands should be relaxed, almost loose. You're not strangling the poles — you're just guiding them.
The Grip
Hold the poles with a relaxed grip. Your thumb should rest naturally on top of the handle. Most poles have a wrist strap — slip your wrist through it so the pole is supported partly by the strap, not just your grip.
The Rhythm
On flat ground, use the opposite arm-leg pattern: right pole with left leg, left pole with right leg. It feels natural once you do it for a few minutes. On uphill sections, plant both poles together and push — it's like having a rhythm to propel yourself forward.
Downhill Control
Going downhill is where poles shine. Shorten them slightly (if adjustable) so you can plant them ahead of you for stability. This takes real pressure off your knees. Don't lean on them like a crutch — just use them for balance and braking.
Different Terrain, Different Techniques
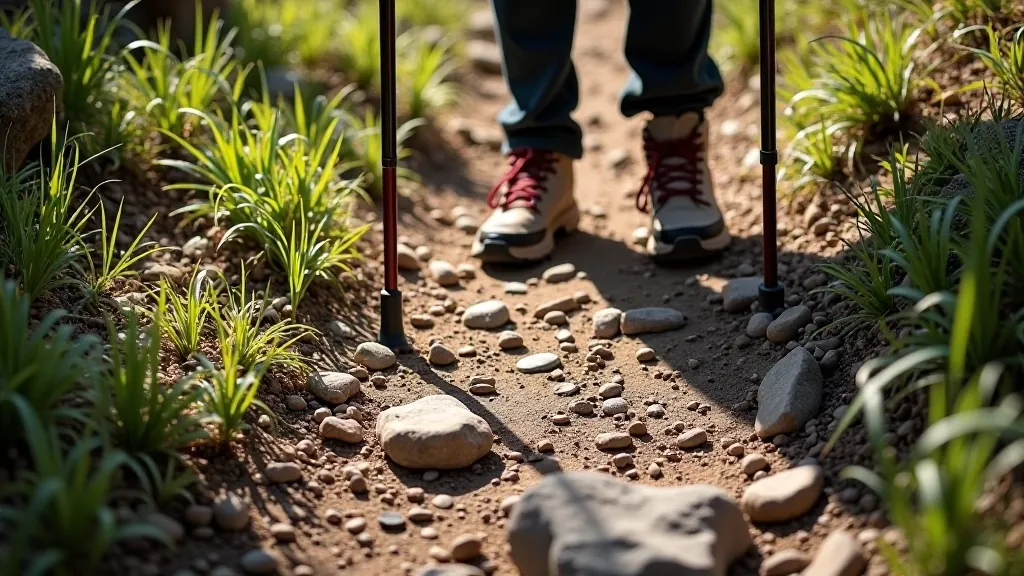
Rocky or Uneven Ground
This is where poles become genuinely helpful. Plant them slightly ahead and to the side of your body for balance. They're your third and fourth leg here. Move slower, be deliberate with your foot placement, and let the poles take some of your weight on sketchy sections.
Muddy or Slippery Paths
Poles aren't going to help much if the ground itself is unstable, but they do give you something to steady yourself with. Use them more for balance than propulsion. Shorter, careful steps. And don't put all your weight on them — they can slip just like your feet.
Stream Crossings
Poles are excellent here. Use them to test the water depth before you step. Plant one pole downstream and use it as a brace against the current. They really do make a difference when you're wading through water.
Looking After Your Poles
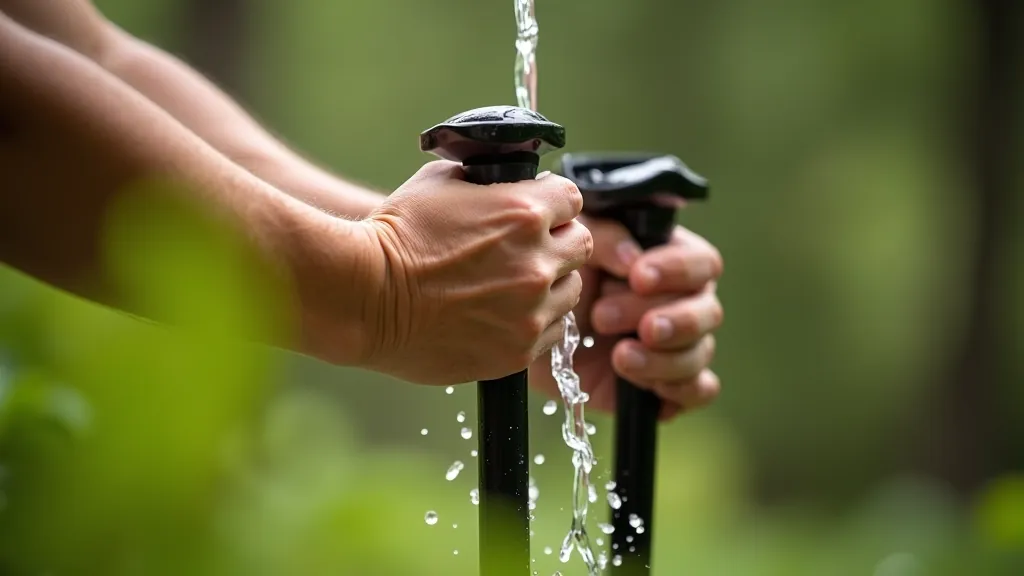
Good poles last years if you treat them right. After a wet hike, rinse the mud and dirt off with fresh water. Let them dry completely before storing — especially the sections that telescope together. If they get stuck, don't force them. A tiny bit of silicone spray (the kind you'd use on a bike) helps.
Check the baskets (the little rings at the bottom) occasionally. They wear out and sometimes need replacing. That's a cheap fix. The grips will eventually get worn, and those are replaceable too. Poles themselves are tough — they'll handle years of regular hiking.
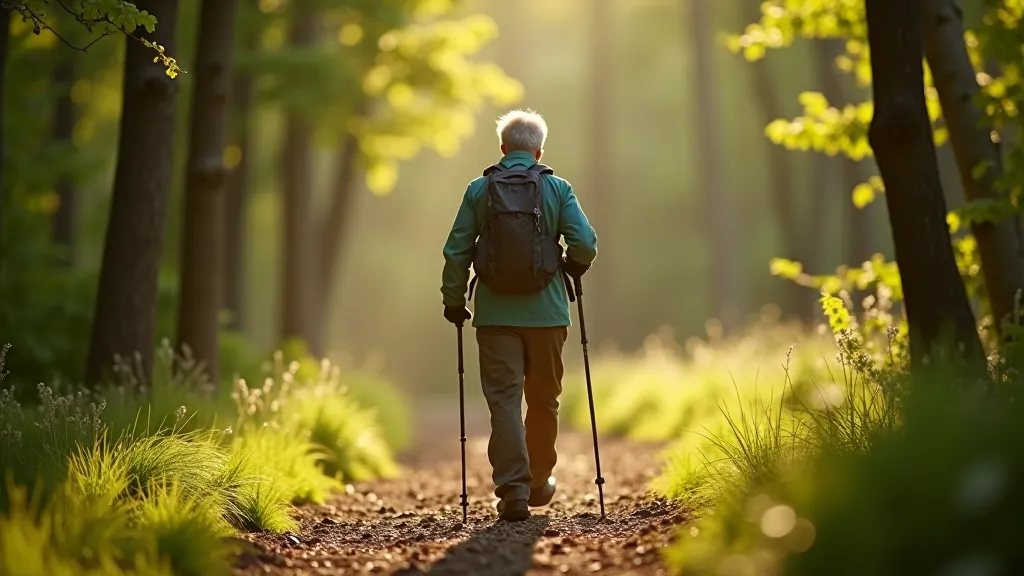
Getting Started Is Simple
You don't need fancy equipment or months of practice. Grab some poles that fit your height, get out on an easy trail, and try them. Most people feel the benefit immediately — your knees hurt less, you're more stable, and honestly, you'll find yourself hiking further than you thought you could.
Start on flat terrain to get the feel for them. Then try a gentle slope. After three or four outings, using poles becomes second nature. It's one of those simple tools that genuinely improves the hiking experience for anyone, whether you're 55 or 85.
Ready to explore some trails? Check out our guide to beginner-friendly walks in Tollymore.
Explore Tollymore TrailsDisclaimer
This article is for informational purposes about using walking poles on hiking trails. It's not a substitute for professional instruction or medical advice. If you have joint problems, mobility concerns, or any health conditions that might affect your hiking, please consult with your doctor before starting any new activity. Always hike within your fitness level, wear appropriate footwear, and stay aware of trail conditions and weather. Hiking involves inherent risks — use common sense and exercise caution.